Fabrication
Fabrication projects spanning a range of mediums, some of which integrate digital processes in the planning/creation of physical outputs.
3D Printing - Autodesk Maya/Mudbox/Fusion 360 on FDM: CatalystEX/Stratasys Elite SLA: Chitubox/Qiditech Shadow 5.5s (Slicer/Printer). SLA resin prints are also post-processed with an Anycubic Wash and Cure Machine
Large (2.5inch tall, 2 inch wide) bull sculpture painted and used as a pommel for a wooden sword with smaller (2inch tall, 1.5inch wide) version used for metal casting. Designed in Maya, printed in resin on a Qiditech Shadow 5.5s
3D Printed heart sculpture designed from responses to the prompt - Describe your favorite part of yourself using a single word. Created in Autodesk Maya, printed in Stratasys ABSplus P430 material.
E-ZPass holder designed for motorcycle handlebars, attached through integrated slots for zip ties and space for double-stick tape to hold in place on the bar. Holes are included for a paperclip “lock” to secure the pass inside the holder while riding but can be taken out to remove the pass when not in use/parked. The holder also has a track for an elastic band “lock” around the entire unit if preferred over the paperclip. Built in Fusion360, printed in resin on a Qiditech Shadow 5.5s.
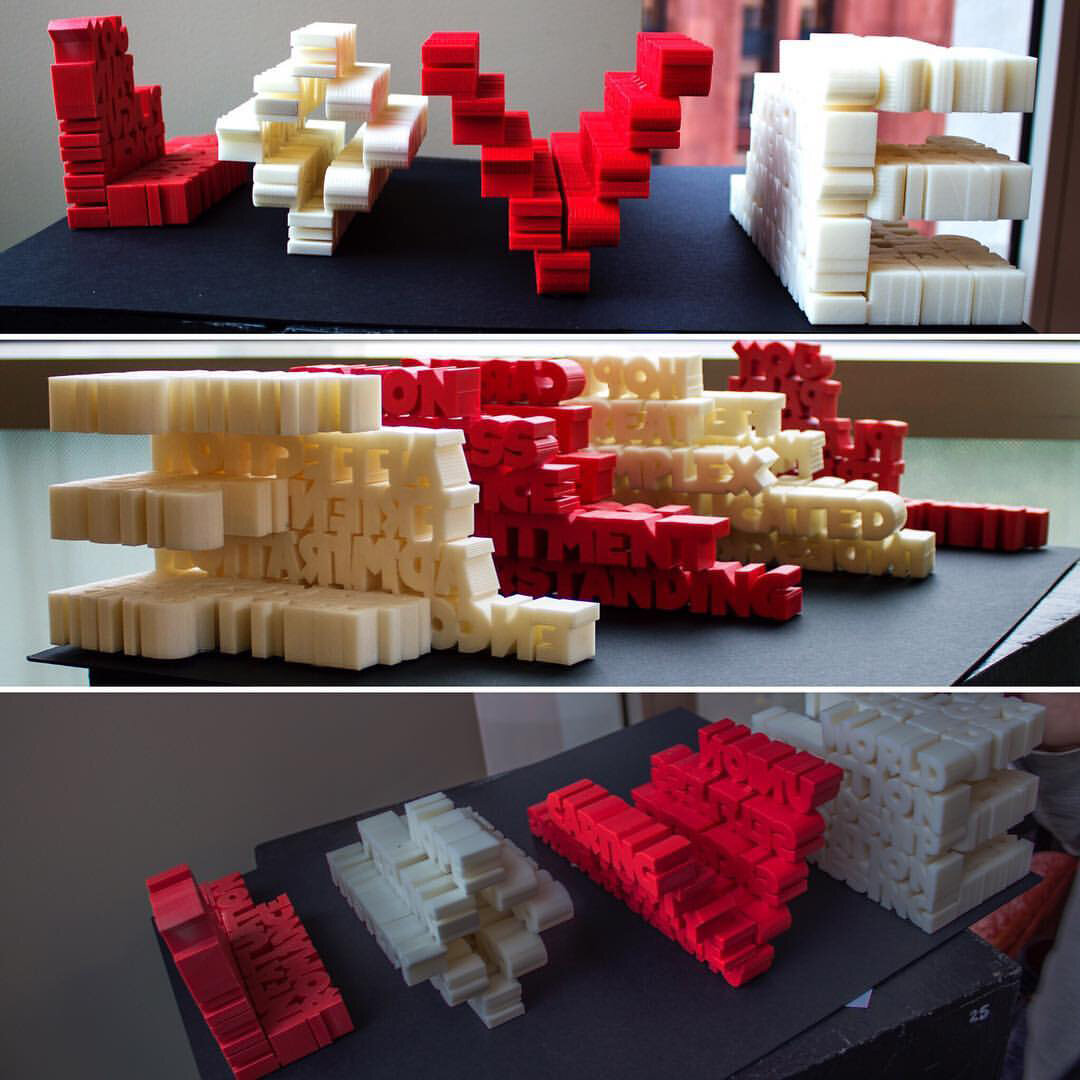
Word sculpture inspired by the Empire State Building made from responses to the question - how would you describe NYC in 1 word? Built in Autodesk Maya, printed in Stratasys ABSplus P430 material.
Size-adjustable tool to spin rings using a drill, allowing for even sanding of the interior of the ring. Designed in Fusion360, printed in resin on a Qiditech Shadow 5.5s.
Laser Engraving and Cutting - Adobe Illustrator on Epilogue Mini 24/LaserGRBL on Ortur Laser Master 2
Guitar sanded down to bare wood, engraved with artwork of the band Iron Maiden, stained and sealed with polyurethane. (Ortur Laser Master 2 20watt)
Lasercut stand to house a MagSafe charger and also act as a vertical phone stand. (Ortur Laser Master 2 20watt)
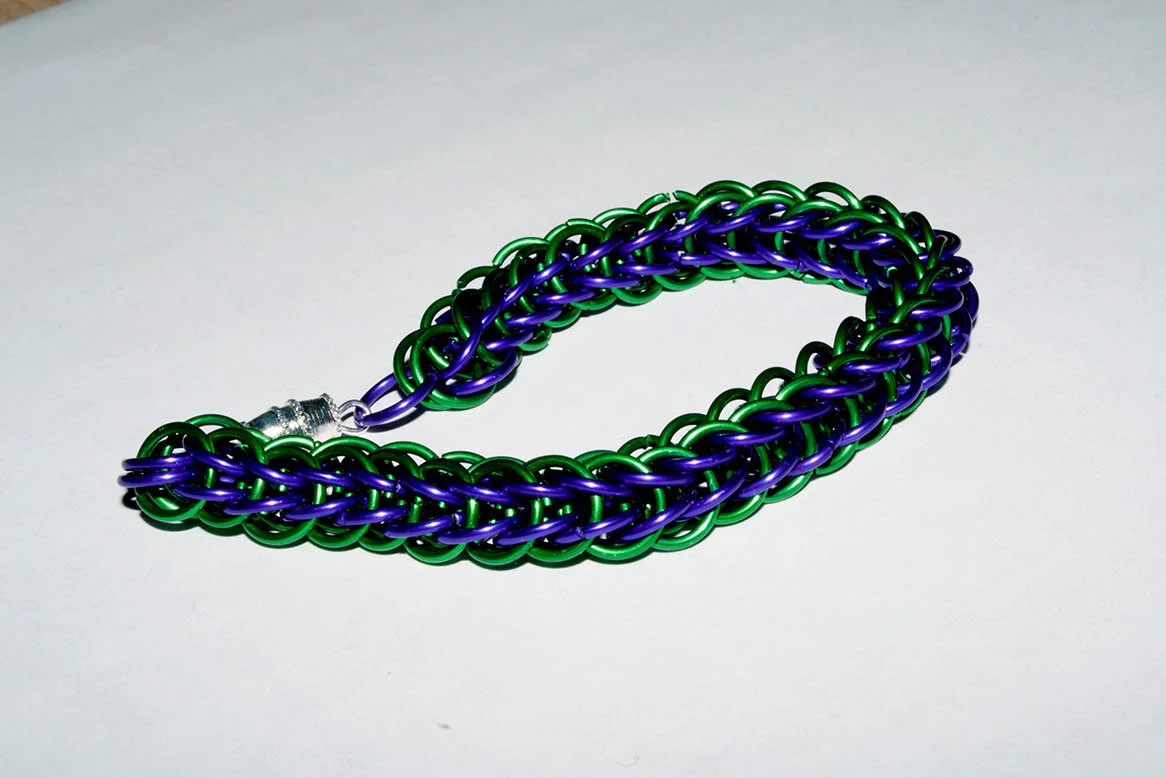
Chainmaille
Headdress made with brushed gold aluminum scales and stainless steel rings with 1-in-1 gold aluminum accent chains. Built off a gold leaf headband.
Jewelry
Finger ring made with .999 fine silver and finished with wood from a fig tree torch-charred for additional color.
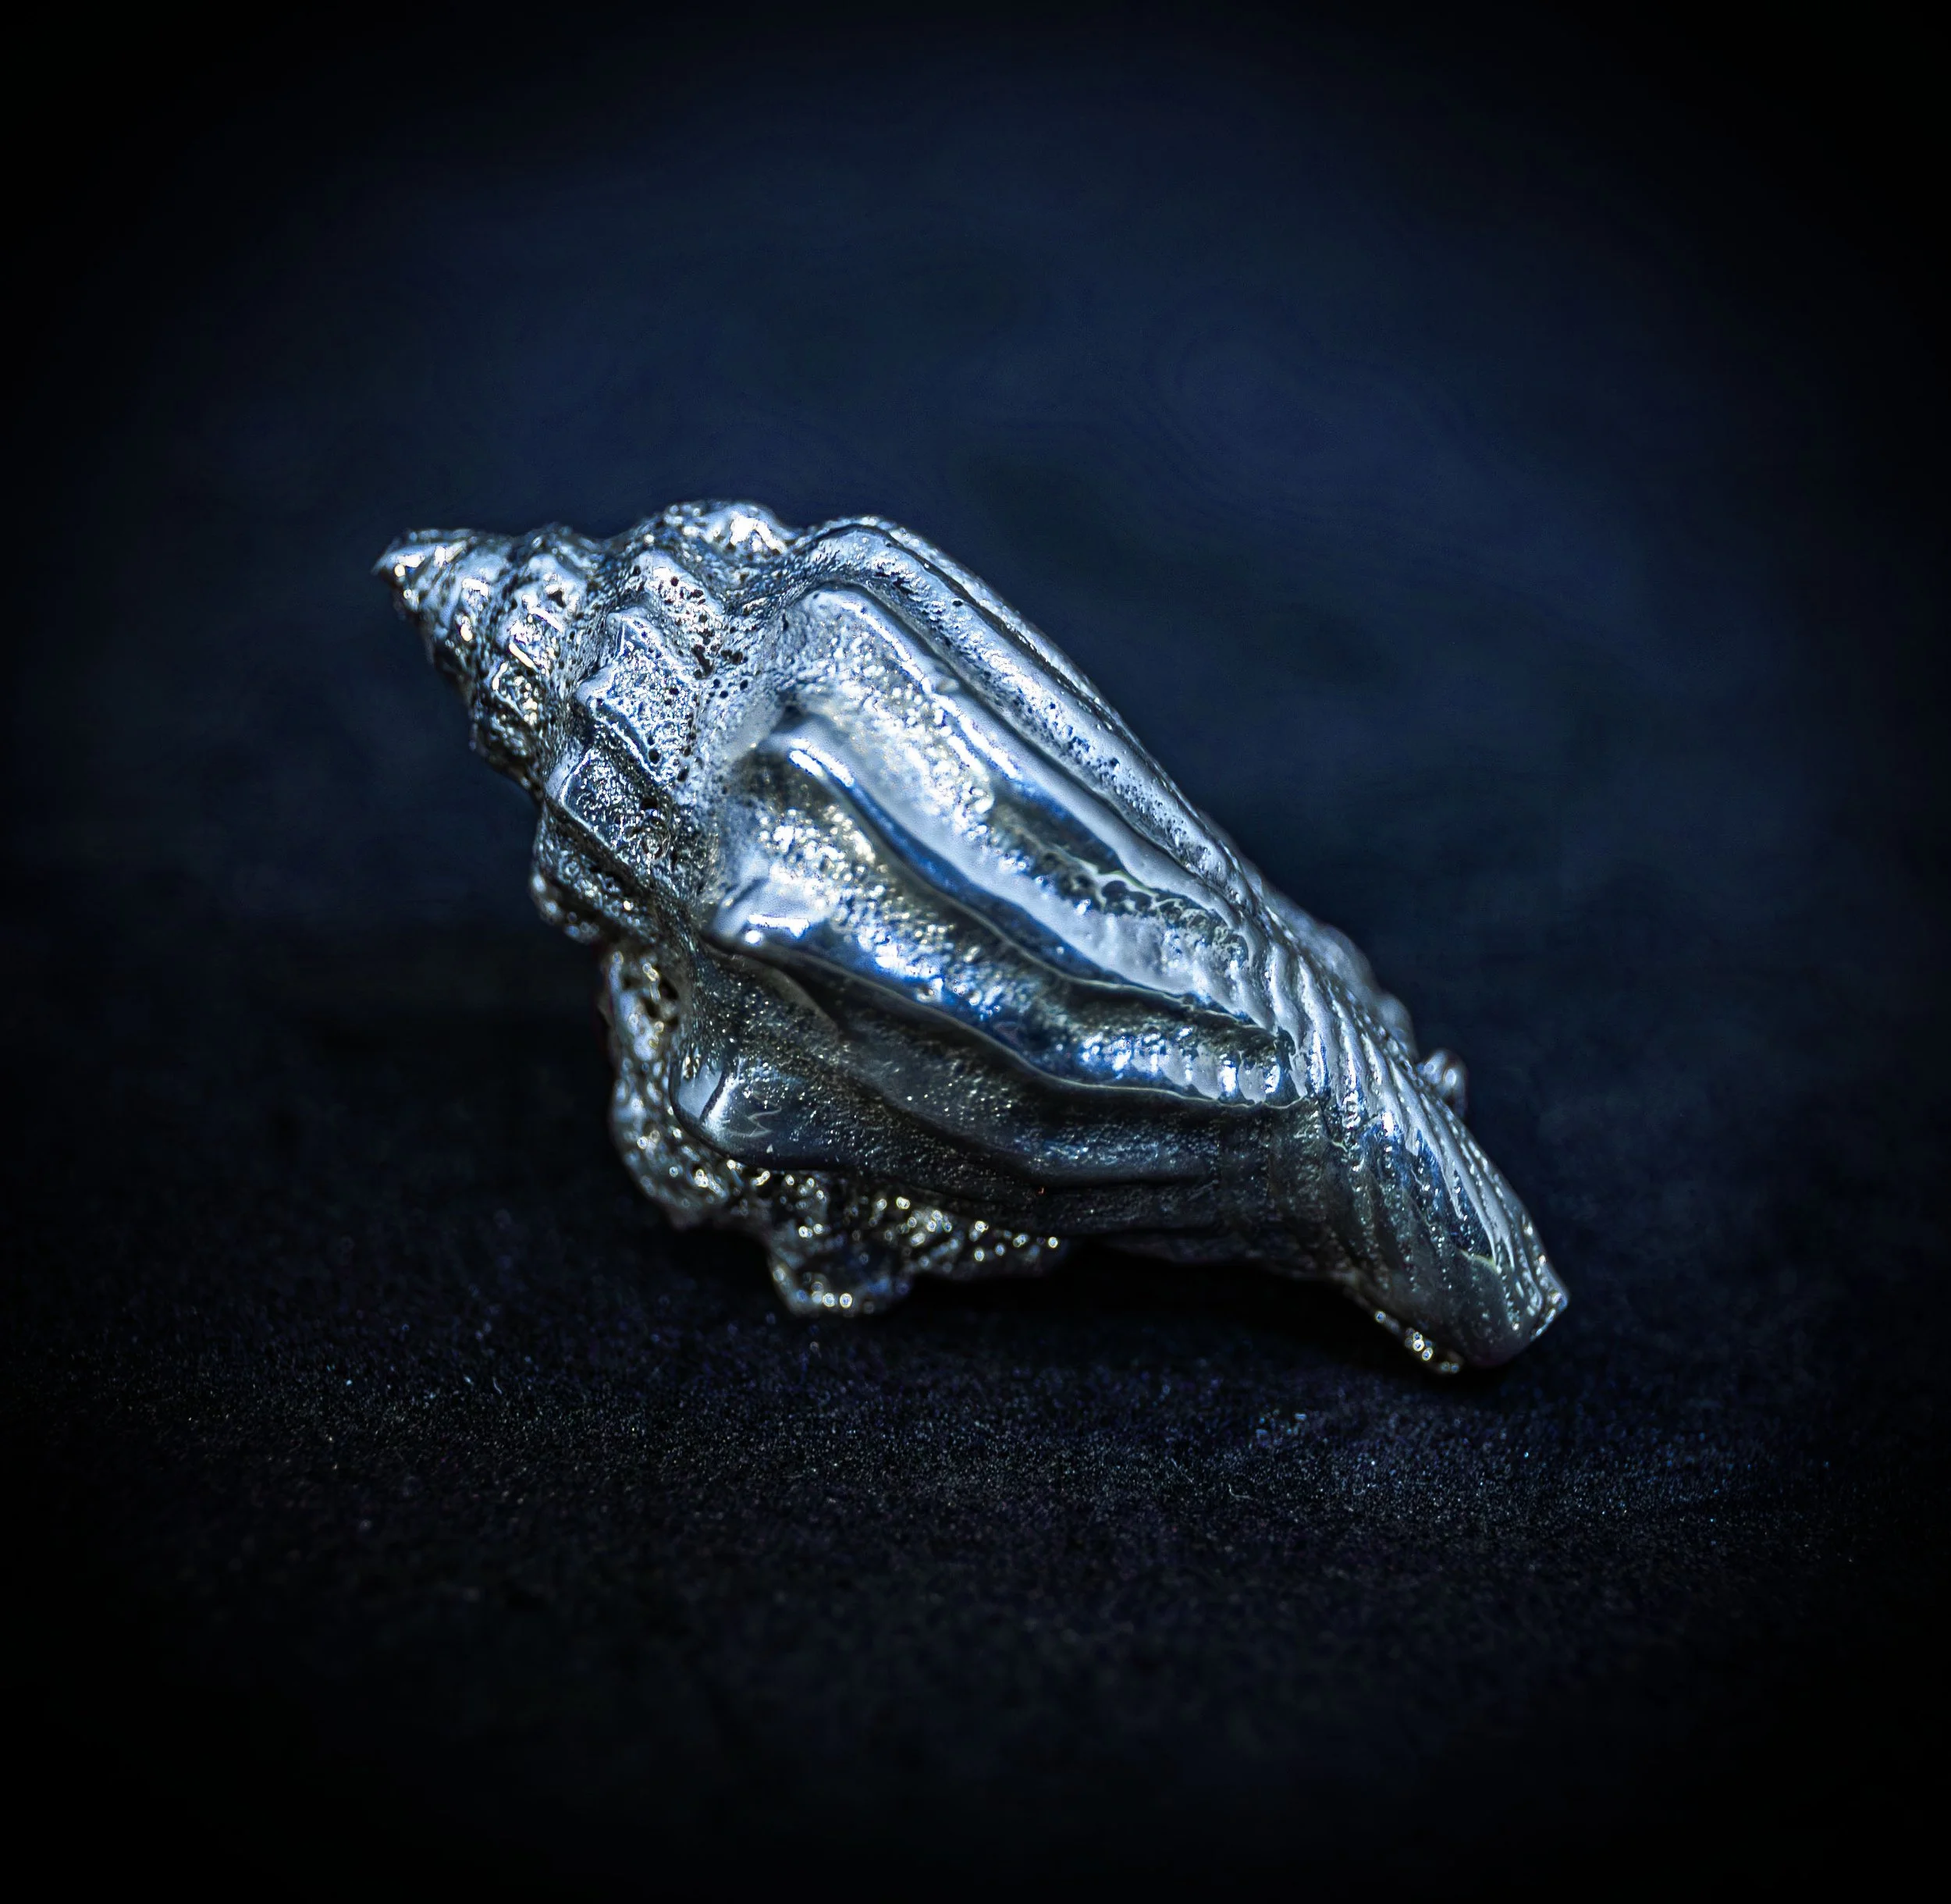
Metalcasting
Bull sculpture sand casted from a mix of aluminum taken from a broken car buffer and treadmill
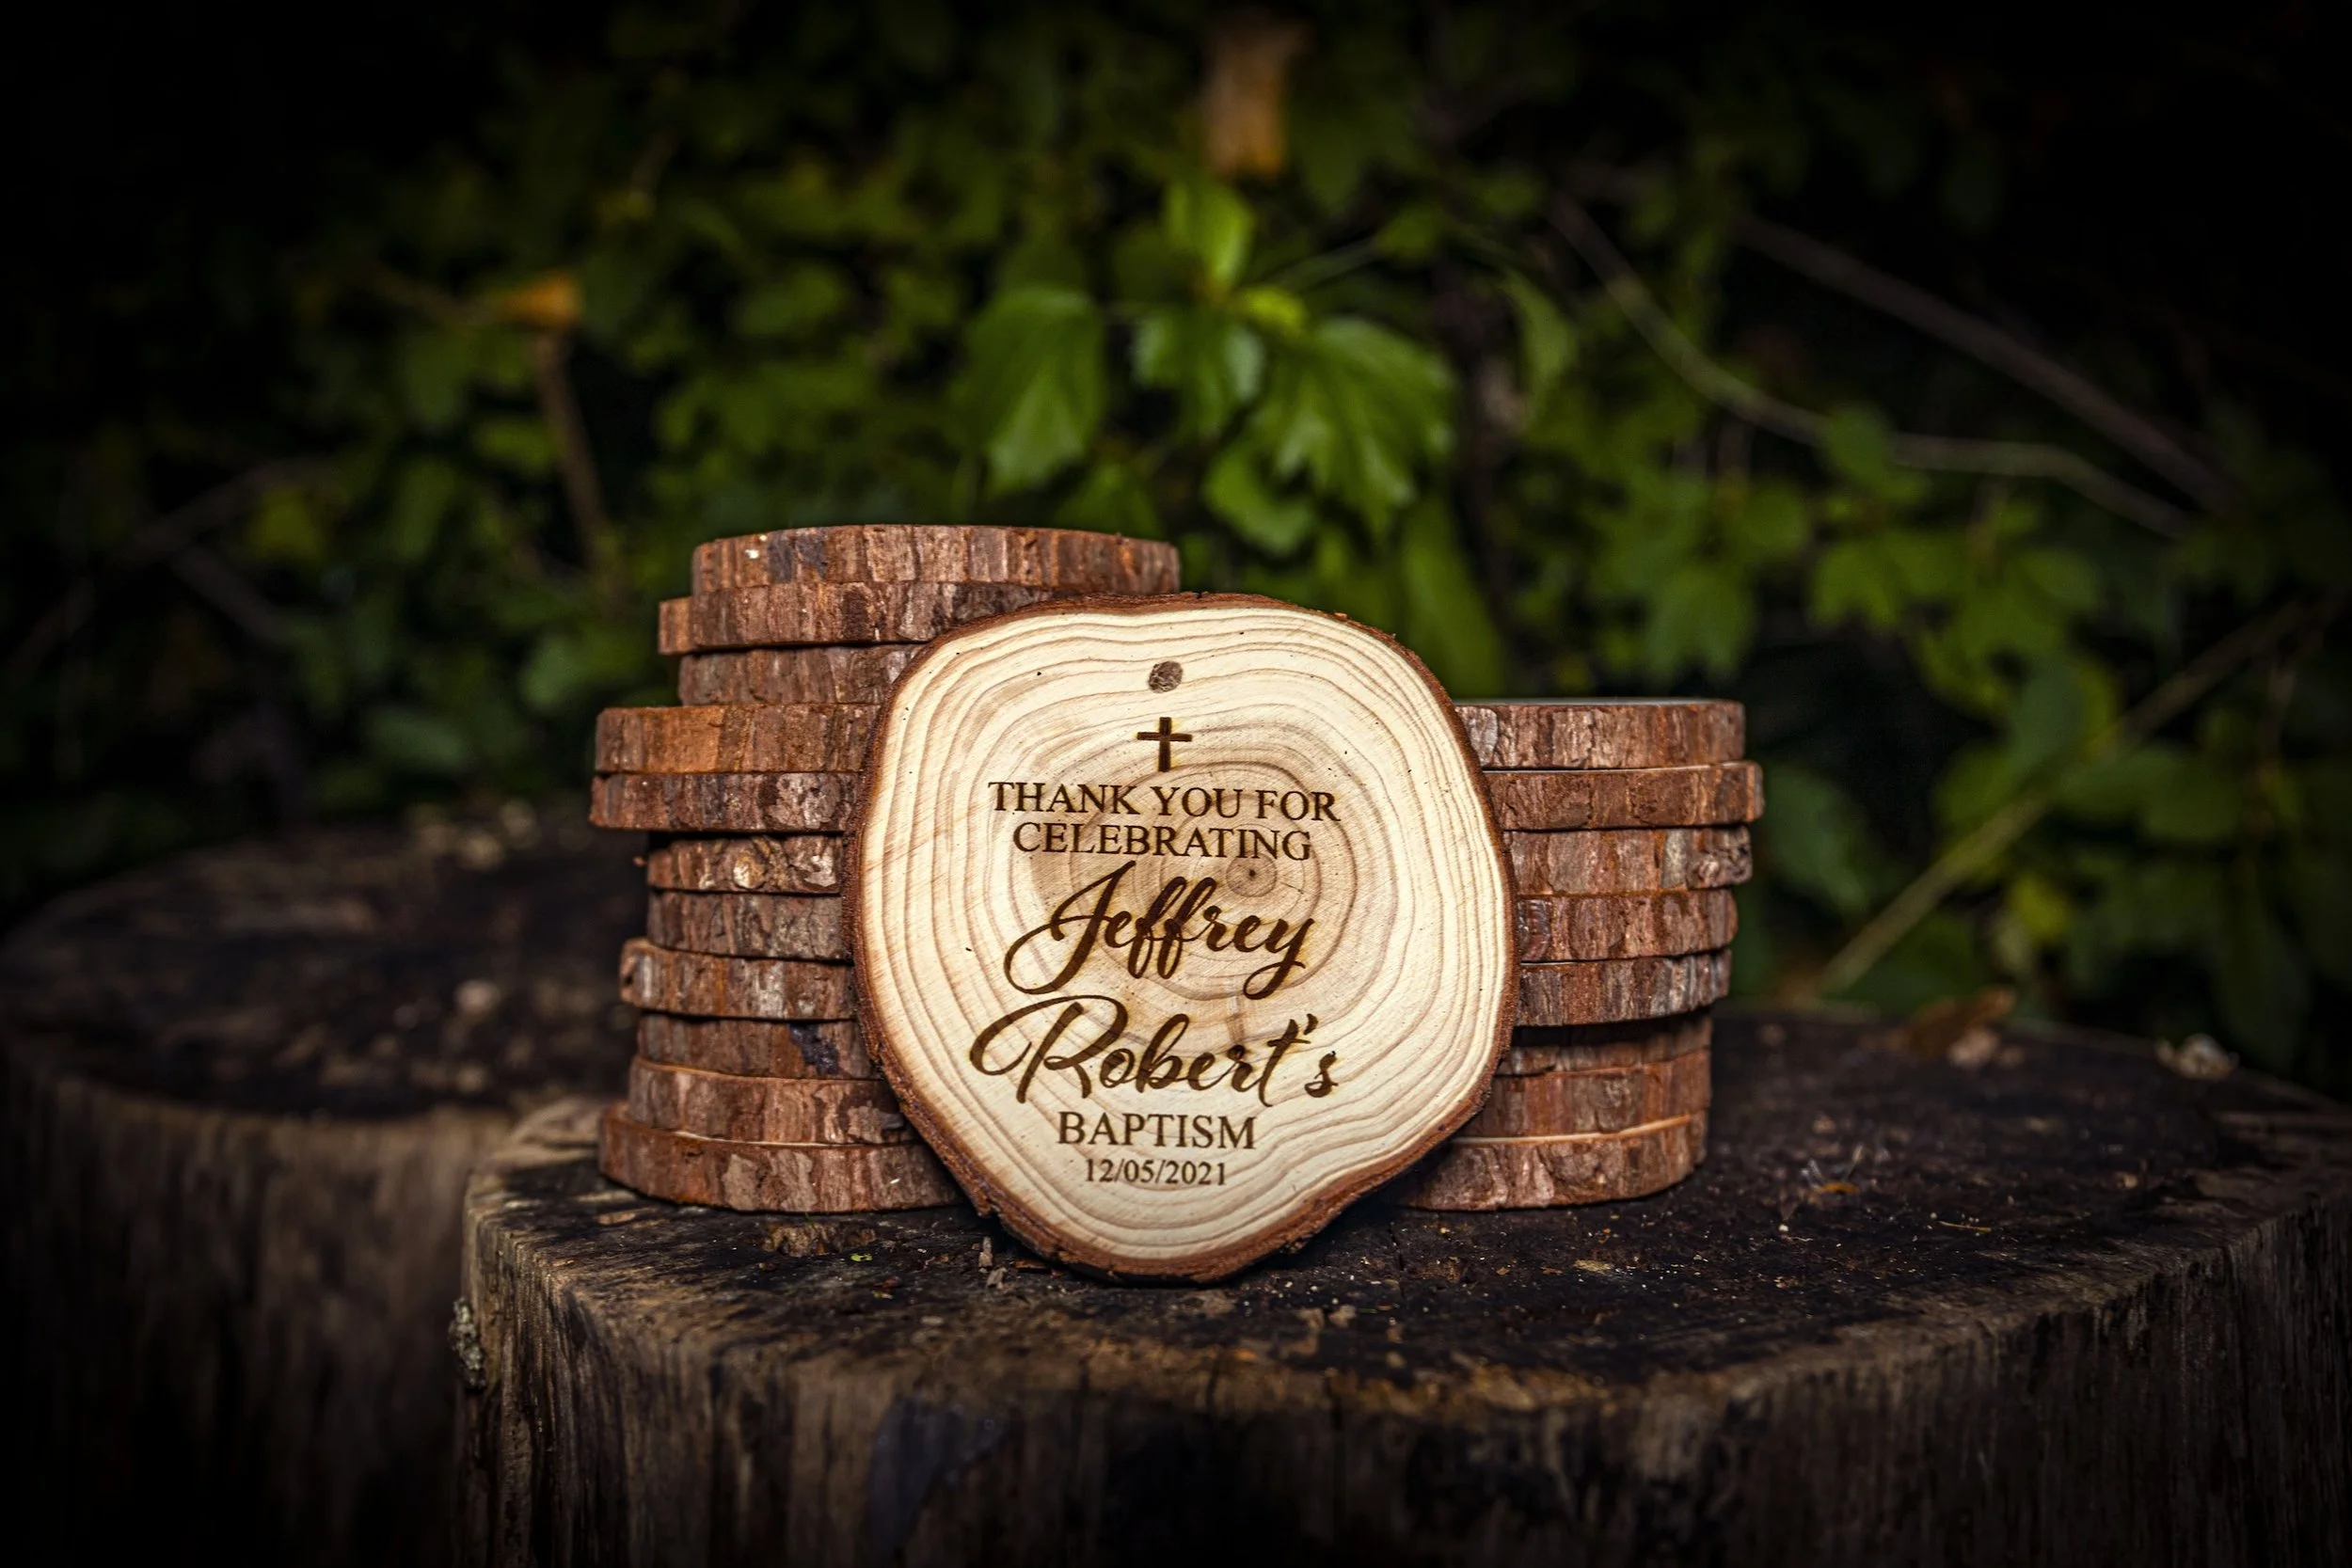
Woodworking
Monitor riser built from reclaimed wood and finished with a wood sealant made from olive oil and beeswax
Bladesmithing
Baking
Cake pops made using from scratch snickerdoodle cake, covered and designed with dyed chocolate, sprinkles, and pretzels.
From scratch chocolate cake and peppermint buttercream frosting made to look like a present using fondant.
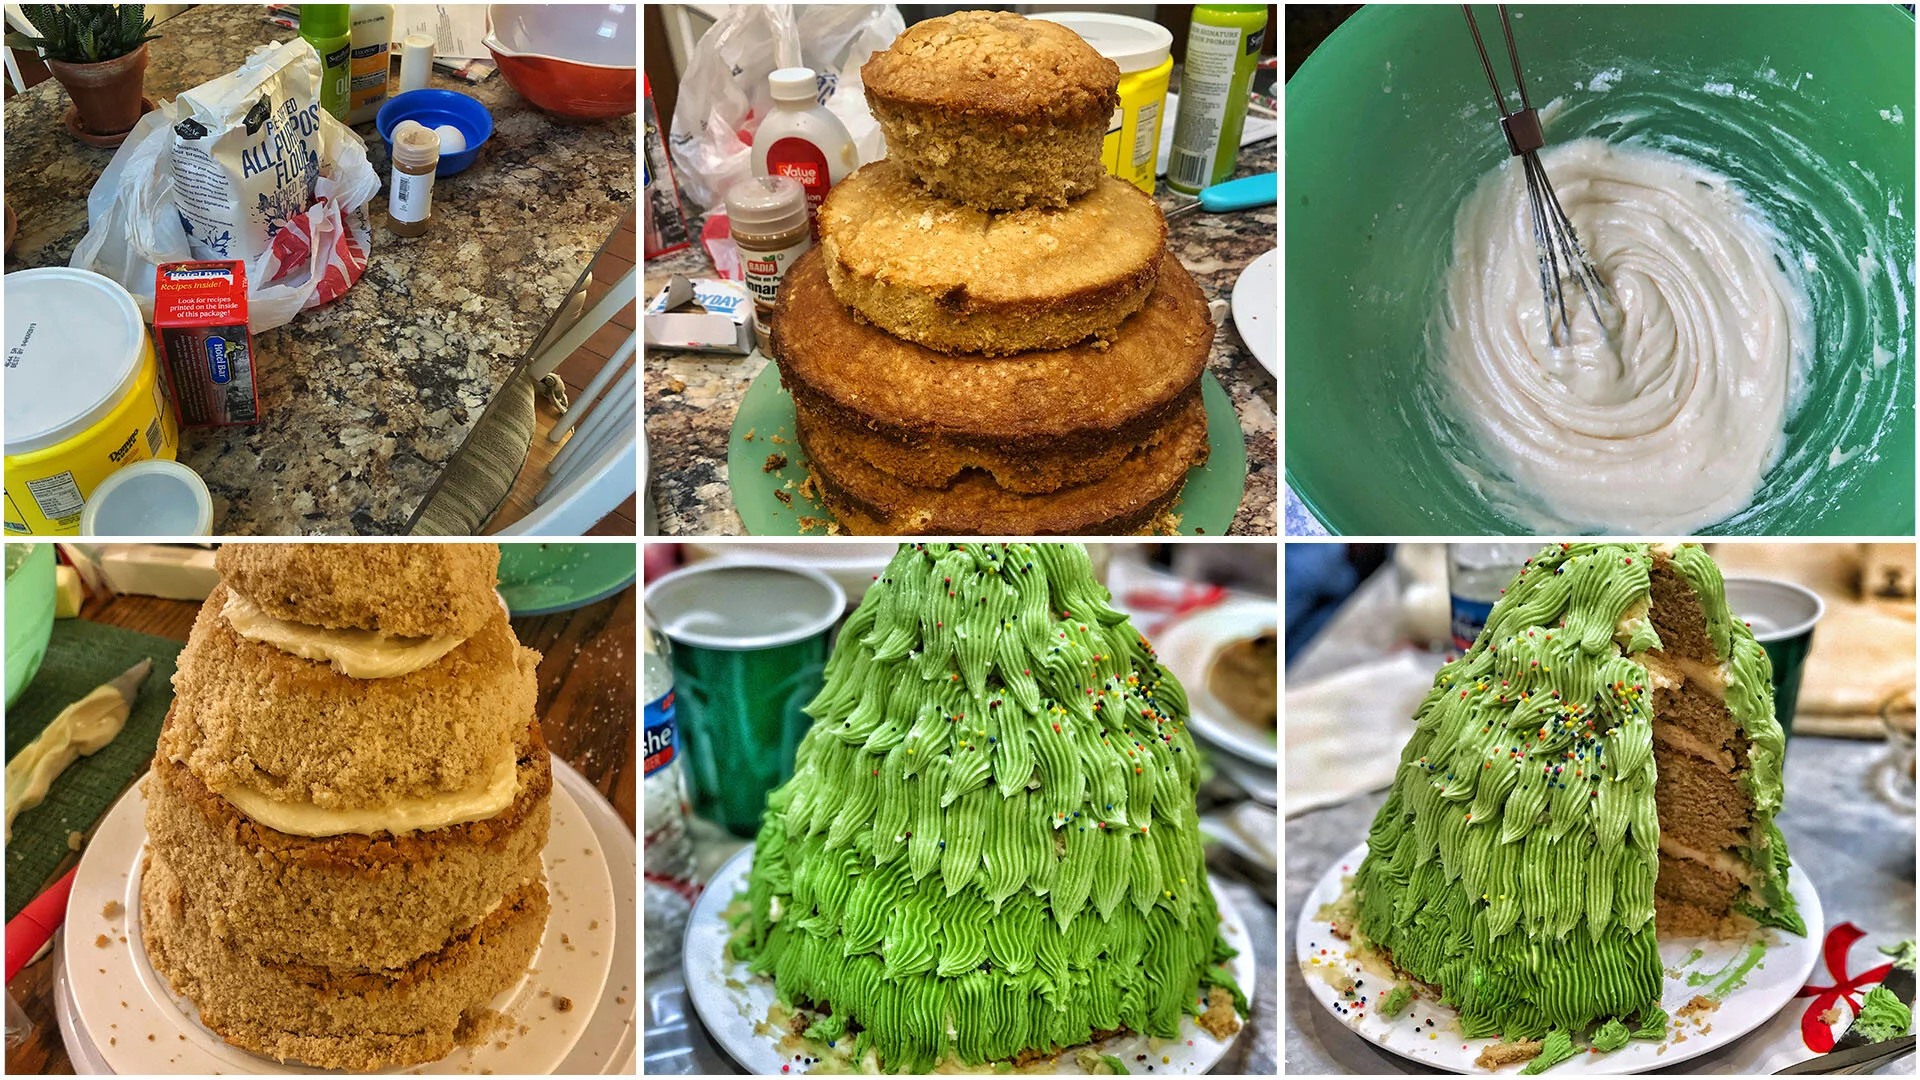
From scratch snickerdoodle cake and buttercream frosting built to look like a Christmas tree.
Process Collages - step-by-step documentation of various projects, click for full view and text descriptions
Process for creating a brass ring with resin inlay. The initial design was sketched on paper to work out sizing and dimensions. The sketch was then utilized to build the ring in Fusion 360, with a preview of the front and back of the ring. The file was then exported for processing in Chitubox for slicing and preparation for 3D printing on a Qiditech Shadow 5.5s. After printing, the piece is post-processed by washing and curing. The printed ring was test fitted prior to being sand-casted in brass. A jewelry saw was used to remove the vent and pour stems. The piece was then cleaned up on a belt grinder, stepping from 320 - 800 grit. The resin blank was cut out and hollowed with a drill press, with a dremel being used to reach fitment on the inlay track. All of the components were then glued together and grinded down for a smooth surface, stepped from 320 - 2000 grit. The completed ring was set up on a drill rig to apply the finish and a final polish.
Process for building a Witcher-inspired wooden costume sword. The initial design was sketched on paper to work out sizing and dimensions. Plan was then drawn onto a 6ft x 4ft x 1ft pine board and cut to shape with a jigsaw and refined with a belt sander. Hammered paint was then applied for the blade of the sword. Paper was used to design and test fit the guard, which was then built in Adobe Illustrator and lasered onto a piece of pine as a template for cutting with a jigsaw and refinement with a belt sander and hand files. Once glued together and painted, the guard was added to the sword and additional pine pieces were added to build out the handle. After the handle was shaped with a belt sander, it was painted black to seal the wood. Copper and enamel coated steel wire were twisted using a drill which and then used to wrap the handle. A bull pommel was designed in Autodesk Maya, 3D printed, hollowed and painted before being added to the sword. The guard was also repainted for better aesthetics. The sword blade was then laser-engraved on each side in Elder Futhark runes, with one side saying “With strength from light” and the other saying “Charge through darkness.” The engraving was then filled in with fluorescent orange paint mixed with glow powder for emphasis and to glow in the dark. Sword has a total length of 49inches.
Process for creating leather gauntlets from a sheet of 8 gauge leather. A paper prototype was made for sizing which was translated to leather for cutting and punching holes for lacing as well as rivets. The leather was then dyed, the edges were hand burnished with beeswax, and the panels were finished with resolene. Gloves were dyed to match and then riveted to the leather panels before lace was added for for finishing
Process for creating a resin monitor riser. Axe-cut log pieces were initially leveled/shaped with a circular saw and arranged in the mold. Various designs and colors were considered before epoxy mixing. Epoxy was mixed per instruction and mica powder was used for coloring. Weights were used to hold the wood panels in place and prevent floating/shifting during curing. After being removed from the mold, the mold pieces were used to create a router sled for trimming/leveling the table. After leveling, polyshade polyurethane/stain was used to treat the wood before the full panel and legs/supports were finished with shellac. Before final screws were put in for assembly, holes were pre-drilled to recess the screw heads and keep them flush with the surface.
Procedure for creating a sandcast mold from a wooden golf tee which was then filled with molten brass for casting
Process for 3d printed resin camera cover for iMac. Initial hand sketch was made from rough measurements which were refined in Autodesk Fusion360 and converted to STL format for slicing in Chitubox. Printed on a Qiditech Shadow 5.5s.
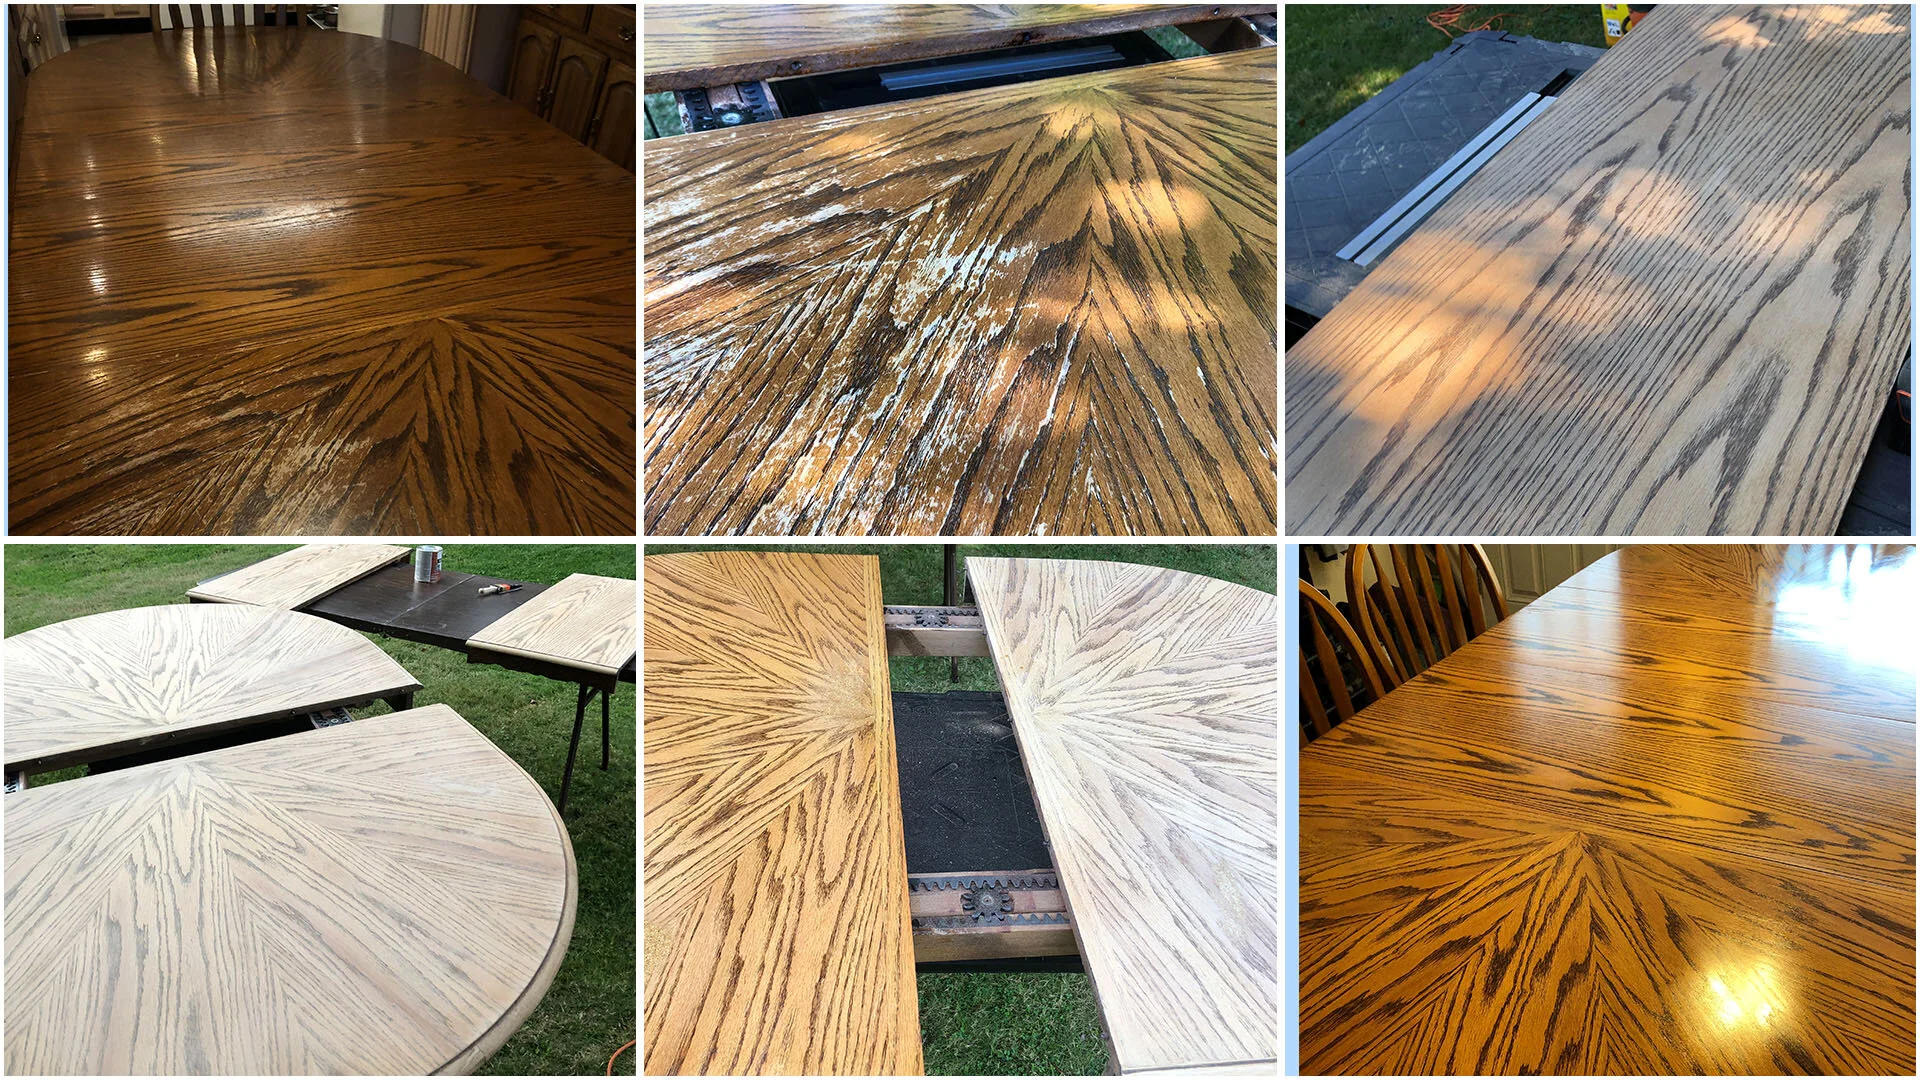
Process for restoring a worn dining table. Finish was removed using an orbital sander and 40 grit pad. Wood was then prepared by step-sanding up to 180 grit followed by 2 coats of stain and finished with 2 coats of shellac